WHAT YOU WILL NEED!
1.Milk Paint- I used this brand for both renovations
2. Cabinet Hardware knobs and pulls
3. Paintable Wallpaper they also many varieties at Lowes
4. Concrete for countertops-Ardex Feather finish
5. Color if you want to darken. Quikrete also has lots of other colors!
6. Hand Trowel for smoothing concrete
Step #1: for painting Cabinets
Put pieces of tape on the inside of the doors so you know which cabinets go where. (Ex. Left above sink) or even, (the right one where cans go). Something you will understand later. The first kitchen I did this to was so small it didn’t matter much but it was still very helpful when going to put them back on.
Step #2: Take off of cabinet hardware. My cabinet hardware had paint all over them from the last person that painted so I had to soak them like this in order to get the paint off. It worked kind of well. I still had some trouble getting the paint off after.
Step #3: Sand down cabinets with sandpaper. (These cabinets had been previously painted so painting them was much easier. If you have varnished wood see my kitchen #2 tutorial about how to get those painted).
Step #4: Insert paintable wallpaper. Since the inner layer of the outside of the cabinets was a weird shape I lined up the edge of the wallpaper on the left side and then pushed along the creases with my fingernail until there were impressions all along the edge of the wallpaper. Then I just cut out where the creases were.

Step #5: Paint! Do the best you can using nice long strokes. Milk Paint does a great job of evening itself out so even if you are kind of a sloppy painter like me it’s going to look smooth when dry. For these cabinets, I only needed one coat, for the wood cabinets I needed two. Light sanding in between coats is necessary.
Step #6: Let dry and put cabinets back on!
Step #7: I put the hardware on after I installed the cabinets because having them hanging up gave me more leverage when drilling the holes.
CONCRETE COUNTERTOPS
(On top of existing countertops)

I HATED the old countertops! Anytime I spilled something on them they would stain. The only thing that would get it off was bleach! I possibly could have dealt with this if it wasn’t for the fact that they didn’t look good either. So I didn’t have style or function with these. I had Alton Brown Season 1 of Good Eats countertops and I hated them!
Step 1: Move everything off your countertop and sand it! Start with a high grit sandpaper then move to a higher grit. The goal is to mess that counter up so the concrete can stick to it. So hit it! Throw rocks at it! And then wipe it down.
Step 2: Mix the concrete. Add your stain at this phase if you’d like. I laughed at all of the tutorials I read that compared this concrete to pancake batter. I chalked this up to women being the primary writers because I wasn’t sure a guy would ever be caught dead comparing brunch food to building materials. But the Ardex Feather Finish is so completely smooth “pancake batter” is spot on. Now you are lucky and can buy Ardex Feather finish on Amazon. Back when I did my project I had to drive to store and deal with the ridicule of telling the man at the register I only needed one bag because I was only using it to cover my countertops. He laughed at me and said “tell me how that turns out.” I’m sure he meant to finish that sentence with, “you stupid woman.”He was right though! I never figured this method would work and I assumed I would be replacing them within the year. Concrete countertops are expensive and can go toe-to-toe with the cost of granite countertops. Generally they are $65-135 per square foot. This method gives you a lot of the pros of concrete countertops without the cost,weight, or difficult installation. Or if you want to put some recycled glass in there and add some color, here is another place! Adding recycled glass would seriously cut down on the cost of granite as well.
Step 3. Spread it on! I’m sure you were supposed to use a mask for this step, and you should definitely wear one while mixing the concrete. So do it ok! Take your time with this process. Get every corner evenly and spread with nice long strokes. I loved the way the trowel made marks in the concrete. I didn’t sand all of them off 🙂 the cement was so smooth that on harder to reach spots I even used a paint brush!
Step 4-6- Let dry, lightly sand with a high grit sandpaper, and repeat. I did this 3 times! It took 2 days on and off. Be sure to wear a mask for sanding!
7. Wait for it to dry and seal away! The sealant sunk way down into the concrete and I didn’t think it was going to work. But every drop of water I dropped on the countertops beaded up. This sealer didn’t leave it darker or shinier. I couldn’t even tell it was on. Repeat this sealing process every 6 months.
Anyway, this was my and my old boyfriends home so I felt weird asking him to send me a picture of how the countertops looked 6 years later. He told me they were holding up great though and that him and his wife seal them once a year.
Kitchen #2
When I bought the house it was one of the most oddly decorated houses I had ever seen. I’m all for knick knacks but there were fake leaves covering up gaps in the drywall, and everything was either painted brown, white or camouflaged. The home was refinished with multiple cheap renovations that were clearly DIYed poorly. But this house was different than my first house because I was buying it on my own. No more buying it with my boyfriend’s taste in mind. This baby was all mine and I couldn’t wait to style the house my own way. However, I was still very low on money, so if $200 was all I had left over from that months paycheck, that’s all I used!


Obviously all I did was get rid of the stupid decorations, paint the cabinets, and replace the hardware. However, look at how much better those simple steps make the kitchen look! Now my kitchen has an appropriate amount of exposed wood 🙂
As much as I preach sanding I actually didn’t sand these cabinets before painting and they have held up wonderfully. No chipping or peeling at all. That being said, I did treat the wood with deglosser before painting with had some pretty strict application rules. I had to paint within 30 minutes of application but I had to leave it on for long enough for it to be effective. This left me with a very short window of time for actual painting. I gave it two coats (with light sanding in between 🙂
Step 1: Label your cabinets. This part seems intuitive but it isn’t once they are all laid out all over your kitchen.
Step 2: First layer of deglosser. I actually did this while the cabinets were still on. I masked up and took a cloth and wiped in a first coat of deglosser. Once you start deglossing you had better be ready to paint! This project took from around 4pm to around 2AM. I love working late at night so people aren’t around to bother me.
Step 3: Unscrew the cabinet door and lay on the counter. Take an old paint brush and layer on a thick coat of deglosser. Repeat with entire cabinet and all the doors.
Step 4: The deglosser wants you to wait at least 20 minutes before painting, but no longer than an hour, so you need to get moving with the first coat of milk paint! This stuff was $80 and almost broke the bank! I’m glad I used such high quality stuff though, because here I am 5 years later and my cabinets still look great! Anyway, use a nice quality brush to apply this. It’s going to look really stupid before it’s second coat. Don’t worry!
Step 5 and 6: Wait until first coat is dry, lightly sand with a high grit sandpaper, and then add your second coat.
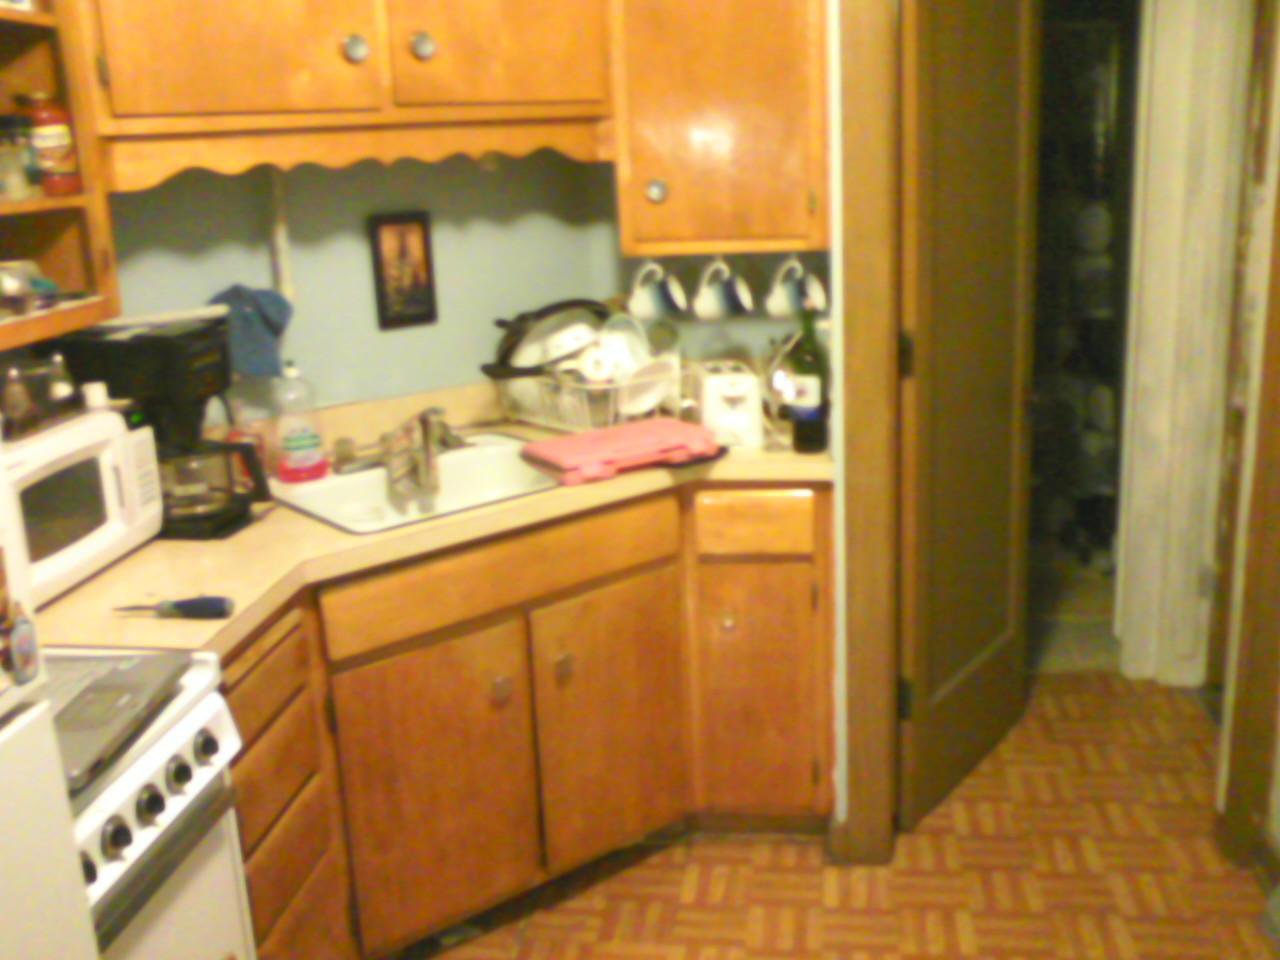
Down here are a couple pictures I had on my flip phone of a cabinet renovation I did in college. I sanded them down to wood and restained them. It felt so good to be one my own I almost forgot about the tiny wood bits that were in my lungs.