Coat with paint stripper I use THIS. The good thing is you can use this stuff indoors! The smell isn’t bad at all and you don’t have to sand which is nice. If the varnish is thick enough put a really thick coat on and cover with tin foil. Leave for around 12 hours and then scrape off with plastic scraper. I only needed an hour and didn’t use foil because my varnish coat was pretty thin.
I forgot how flakey and messy this was. Not sure if it’s easier than sanding 😦 It was almost as much work but gunky and citrus smelling. Careful what you use applying this to your project! Instructions say put in a metal container and use a paintbrush. Stick to these rules or it might dissolve your favorite container.
So satisfying to scrape!
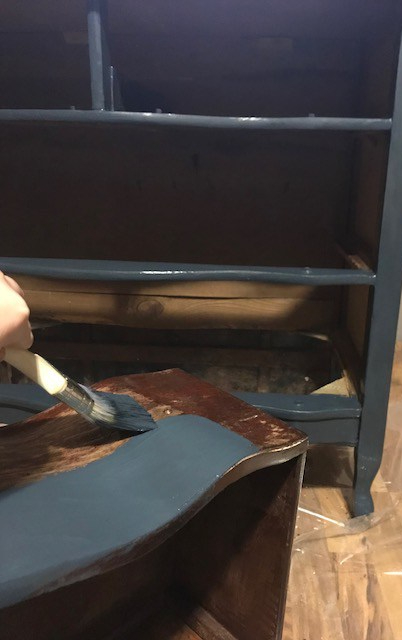
Wipe it down really well with a wet towel. Get off all the gunk and left over flakes (this took the longest) Then you can start painting!
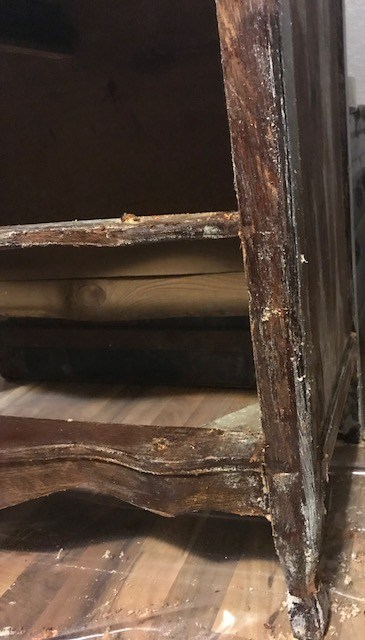
You can see I needed to do some spot treatment on the top of the dresser. I was going to leave this raw wood so I could stain it.
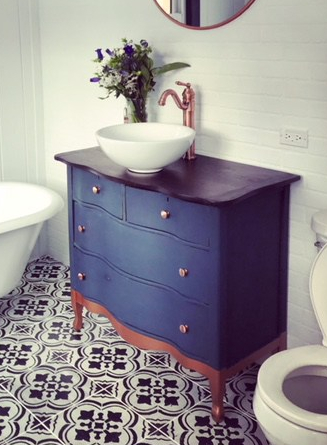
I used THIS spraypaint. Stupid blue tape always leaks. It gives me a false sense of security. Next time I’m using the green frog tape! Dripping is a big issue with those metallic sprays! Keep the spray can at least 7 inches away from where you are spraying or it will look oddly concentrated. Long sweeping motions from a distance are key!
Copper Dipped Finish turned out well after some touch-ups. I stained the top with some Java Jell Stain and I applied it with an old rag. Then after that dried, I treated it with my trusty Minwax Wipe-on-Poly